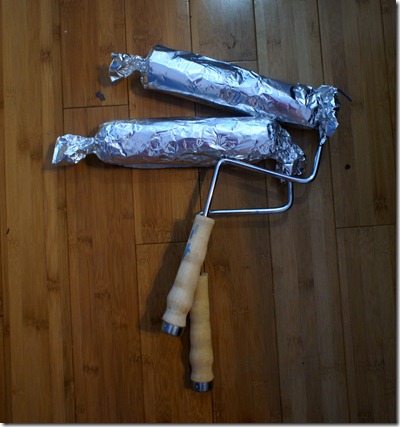
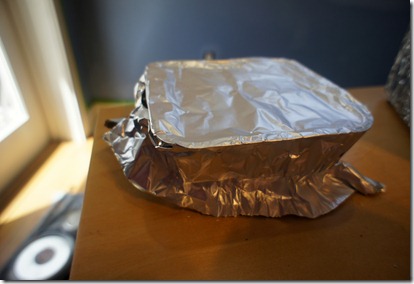
Here’s a handy little tip for painting. I hate having to rinse my brushes in between coats, I feel like its just such a waste of time but until now I did not know to how keep my brushes wet. Well it turns out it is quiet simple, just wrap them in tin foil! Tin foil keeps them wet overnight even. The trick is to wrap them real tight in the foil, making sure there aren’t any spots for air to get in. Happy Painting!
Tuesday, July 31, 2012
Friday, July 27, 2012
Smart Shopping: Ikea
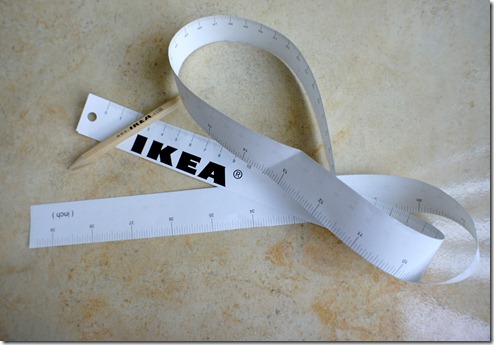
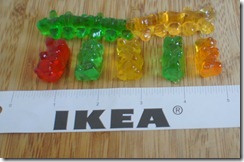
I love going to Ikea; for me, it’s a creative minefield. There are just so many pretty things to look at and see. Plus, you get free measuring tapes and pencils! For the most part, the items tend to be quiet reasonable in price. Here are my tips to not get overwhelmed at Ikea:
1) Plan to spend about 2 to 3 hours there if you are just browsing for ideas.
2) Eat at the Restaurant. Seriously, its delicious and inexpensive. I recommend the veggie medallions. Actually, I haven’t had a bad thing there yet!
3) Touch everything! Well, kind of. Go through all the displays and look around. Sit in the chairs. Check out the floor plans. Make lists on the sheets they give you. Be amazed at how these people exist in such small spaces.
4) Check out some of the small things (like plates and such), they really are quiet cute and durable. They even have fabric!
5) The Swedish Market: it’s right after the cash register. It’s got some great stuff, including those veggie medallions and lignonberry jam. And of course, Swedish fish!
Good luck! Do you have any tips for Ikea? Are you just as overwhelmed as me each time?
Wednesday, July 25, 2012
Weekly Wonders: July 25th, 2012
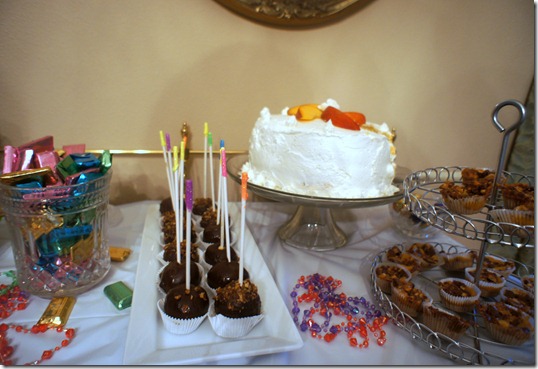
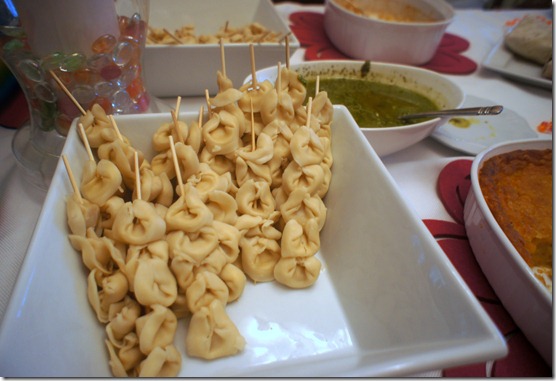
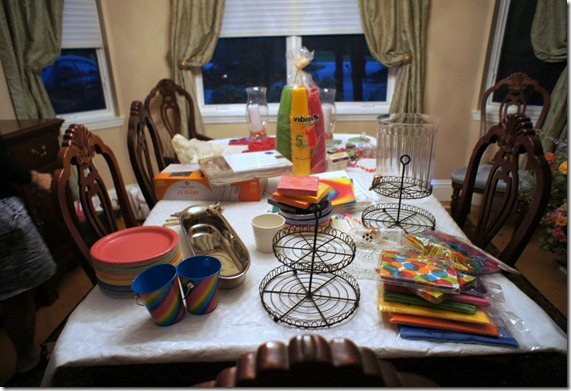
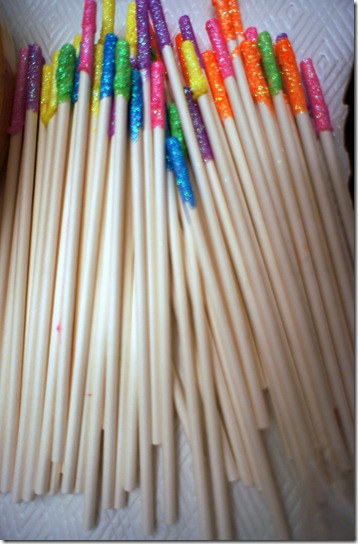
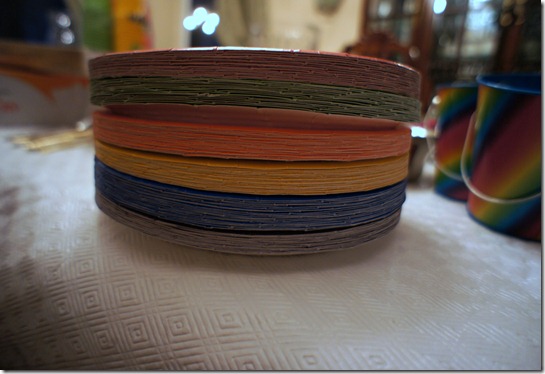
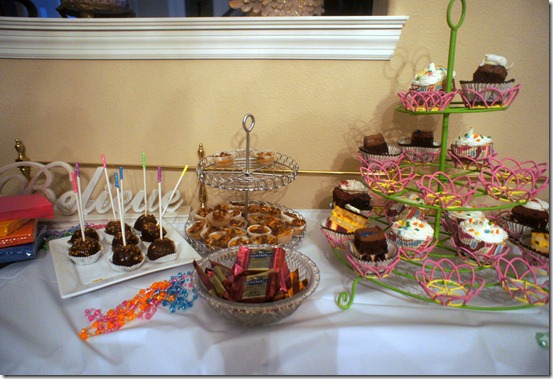
I love throwing a good party, from Valentine’s crafternoons to Thanksgiving potlucks. The other weekend, Mom decided to throw a party in honor of my graduation and B’s adoption. She even made me come home from Miami to teach her how to pin things on pinterest because she kept seeing all these ideas and did not know what to do with them. At first the theme was food on sticks, because there are so many cute ideas out there. Then we realized not everything could be on a stick so we wanted mini things. Pinterest kept filling us with unrealistic expectations for how our party should be (Exhibit A and Exhibit B). All the bright colors made us realize that we wanted more color in our theme, so we went with rainbows. We did not have any actual rainbows just tons of rainbow colors. Later this week, I will show you how we made these delightful cheesecake sticks. They were a hit! Do your parties ever evolve like ours? They start off trying to be one thing and end up being something completely else?
P.S. It was not until halfway through the party, I managed to grab a few pictures, so excuse the half-eaten displays!
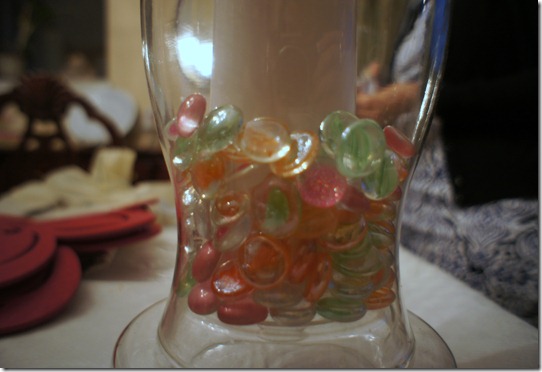
Our collection of colorful things purchased/repurposed for the party
Monday, July 23, 2012
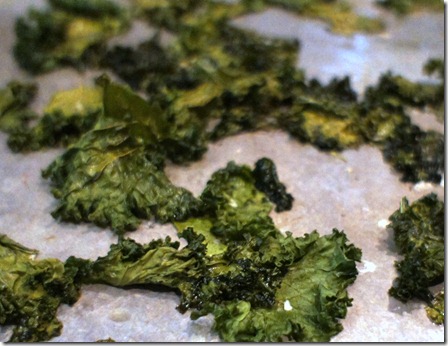
Kale Chips
So I know it looks like all I eat are unhealthy treats (exhibit A and exhibit B, both from last week) but I eat healthy things as well, like super healthy things. Currently, I am on a vegetarian kick with my mom. She likes to say “we are three meatballs short of being vegetarians”, well actually, its more like three meatballs and a piece of really good bacon, and a chicken sandwich, oops. Normally, we just have one “oops” per week, which isn’t tooooo bad. We had a friend come over the other day and teach us some super healthy cooking. This was the first thing we made and it was delicious! Do not knock it till you try it!
Ingredients:
Kale
Sea Salt
Olive Oil
Directions:
1) Preheat oven to 350 degrees
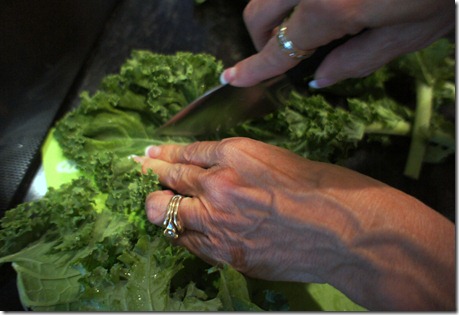
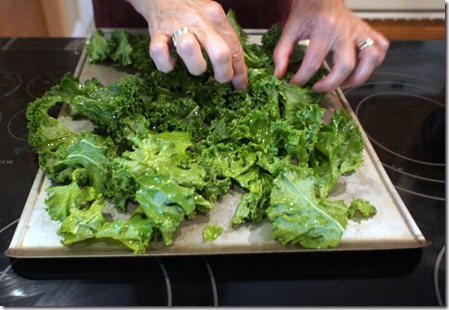
2)Cut out stems of Kale. Run a knife blade along both edges of the stem. Then tear kale into pieces. (About 2 inch sections)
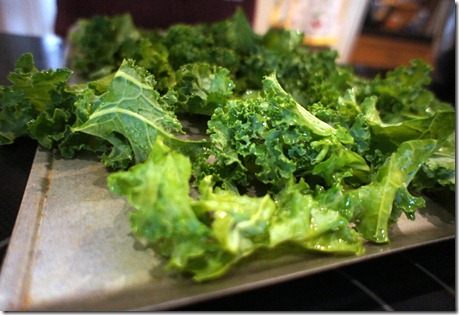
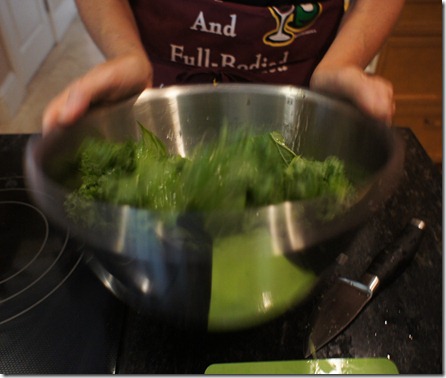
3) In a bowl, coat lightly the kale with Olive oil. Then sprinkle on a bit of Sea Salt.
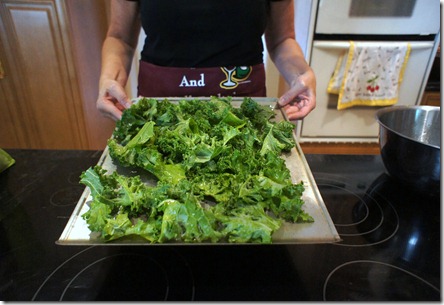
4) Place coated kale on cookie sheet and bake for 10-15 minutes. (I like mine crunchy but not yet burnt, its like making s’mores everyone has their own preferred level of crispyness)
5) Enjoy!
What’s your favorite healthy recipe? Do you try to balance things out? Everything in moderation, including moderation?
Friday, July 20, 2012
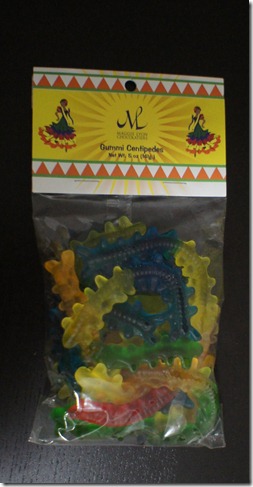
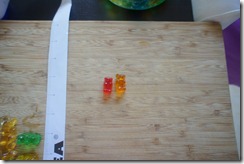
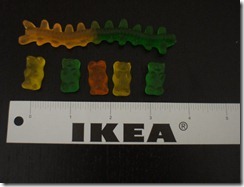
Rummi Gummies
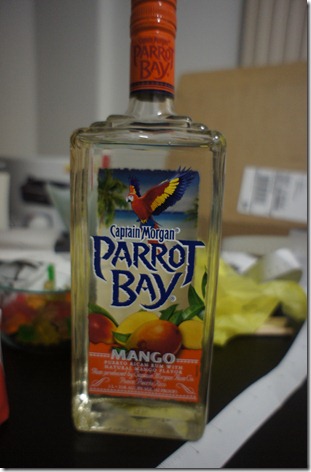
Rum
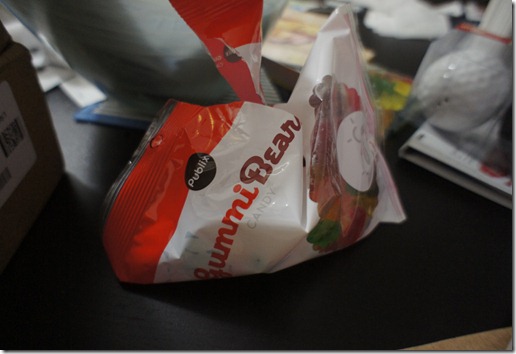
Gummi Bears
Directions:
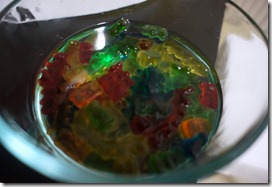
1) Put Gummi Bears in a bowl with a lid, pour rum over until Gummi Bears are submerged.
2) Let them sit in the fridge for about 2 to 5 days, taste testing every day. ( I know, so difficult!)
3) Enjoy and be warned, they can be quite strong!
Wednesday, July 18, 2012
Weekly Wonders: July 18th, 2012
What's your favorite food festival?
Monday, July 16, 2012
Croquets
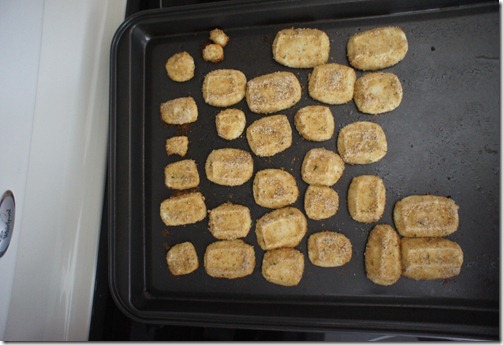
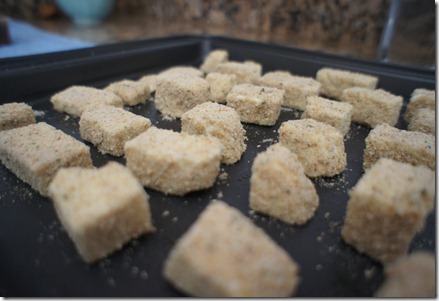
So remember how I talked about the pastry lady recognizing me at Public? Yeah, so the reason we kept coming every day was because of croquets. One day, we decided we could make our own or at least attempt so. It was one of our best decisions, by the way, I hope all my Miami stories aren’t boring you. I got up to a few more fun things while there that I will be sharing later next week. For now, I hope you enjoy these!
Ingredients:
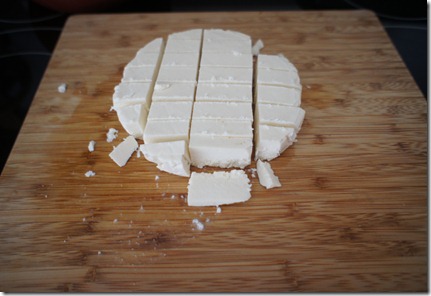
Cheese (Queso Blanco or Fresco works best)
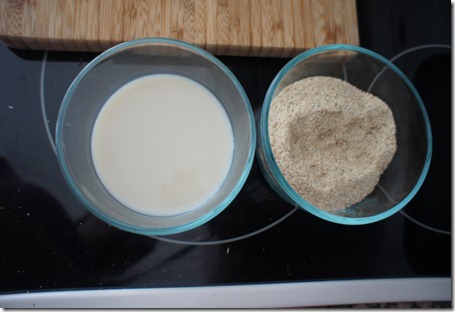
Milk (we used soy milk)
Bread Crumbs
Directions:
1) Preheat oven to 400 F degrees. Cut cheese into small pieces. (The smaller the pieces, the more you have to eat!)
2) Roll cut cheese in breadcrumbs. Place on greased cookie sheet (I use Pam).
3) Bake for about 7-10 minutes, the bottom will be more golden.
4) ENJOY!!!!!!!!!!!!!
Wednesday, July 11, 2012
Weekly Wonderings: July 11th, 2012
Tuesday, July 10, 2012
Gracious Gift/Pinterest Challenge: Martini Glasses
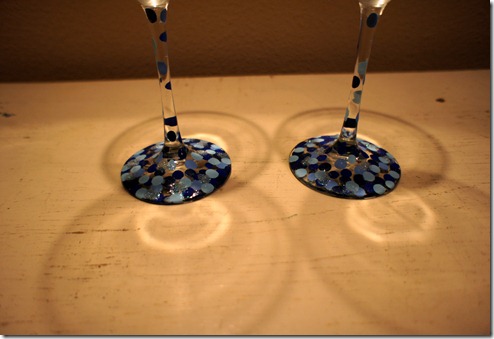
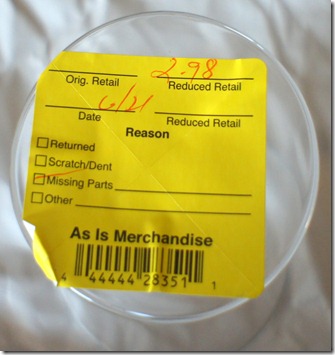
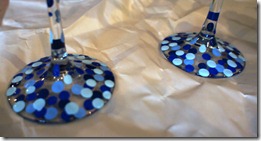
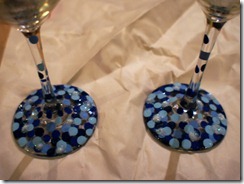
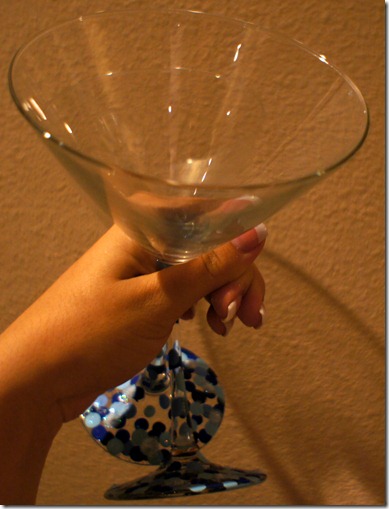
So remember how I mentioned I could not contain myself last week? I had a blast in Miami, but while there I was secretly gathering information. Highly classified stuff. Like what color my friend’s kitchen was and her decorating scheme. Schemes are always top secret. So once I gathered the information (blue and kind of modern/flowery), I felt I could better get her a housing warming gift. You know how these decisions are totally life and death. Anyways, that brings me to Bed, Bath and Beyond, where I was shopping with my mom one day and stumbled into the clearance section. I love their clearance section, it is as good as the one at Home Goods. One time, I got like 100 different cookie cutters for less than 10 dollars because someone had damaged the plastic box they were in! But enough about clearance scores, I saw these two martini glasses that were begging for some TLC and maybe a little glitter. Thus started my adventure in finding out how to decorate them. I took inspiration from these two pins: one with dots and one with glitter. But I thought of a way to make them look better: combine the two! GLITTER AND DOTS. Bam! It actually was a pretty easy craft, and they look adorable. Here is how I did it:
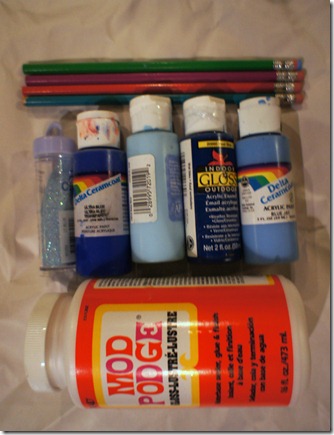
Materials:
Modpodge
GLITTER
Different acrylic paint
Pencils with erasers
Lacquer (not shown)
Directions:
1) Thoroughly wash the glasses and dry them. Take off price tags too!
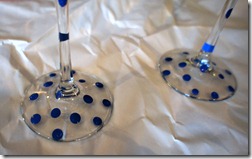
2) Use the eraser side of the pencil to dip in paint. (I poured a little bit of paint in the caps because they were the perfect depository)
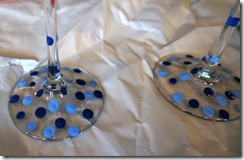
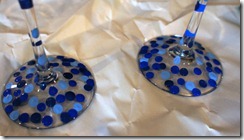
3) Layer and do more!
4) Let dry for a couple of hours
5) Use an eraser to dip in the modpodge, and place several dots around the container. Then pour glitter on. (I used a dry paintbrush to wipe away excess)
6) Let dry
7) Cover the rim with plastic (I used saran wrap and taped it down), and carefully spray with clear lacquer to seal it in.
Enjoy! What’s the best gift you’ve ever given? Or tried to give? Got any great ideas I could ‘borrow’?


