HomeKatyRecipe CollectionHome

Pages

Tuesday, May 31, 2011

How to: Hang a set of frames

 
    I do not know if I've mentioned this before but I love symmetry. I know I've done things before that are unsymmetrical (like this post) but I just think of those as balanced and I suffer through it. Seriously, I can't even wear anything unsymmetrical (no one shoulder tops for me, how can you be okay with favoring only one shoulder?). I got these beautiful vintage magazine pages from my uncle and I have not been able to figure out where to hang them. So with my symmetry fanatics, the 4 pages of dresses and 2 hats pages were driving me crazy. 


     Finally, I found a place. I have this crazy long hallway. Look at how long! And narrow. It's like a bowling alley (and sometimes just as dark)


     Here's a look at some of the different designs I played with before deciding. It was like Goldielocks, this one is too small, this one too big. It just depends on the space of your wall and frames, I had a long wall and narrow frames so I need to stretch out the spaces. 


Step 1) Measure the distance across the wall. Measure the widths of the frames. To evenly space it out, subtract all the widths of the frames from the length of the wall. Then divide by the number of frames plus 1.

Walls- widths / frames +1 = distances between frames (yeah super geeky side, yay symmetry) 


Step 2) Cut out scraps of colored paper to make mock frames and tape them to the walls to see how it will look. (I used leftover paper from this). I ended up deciding to overlap the frames by 1/3rd because they looked better. 


Step 3) Admire your work.


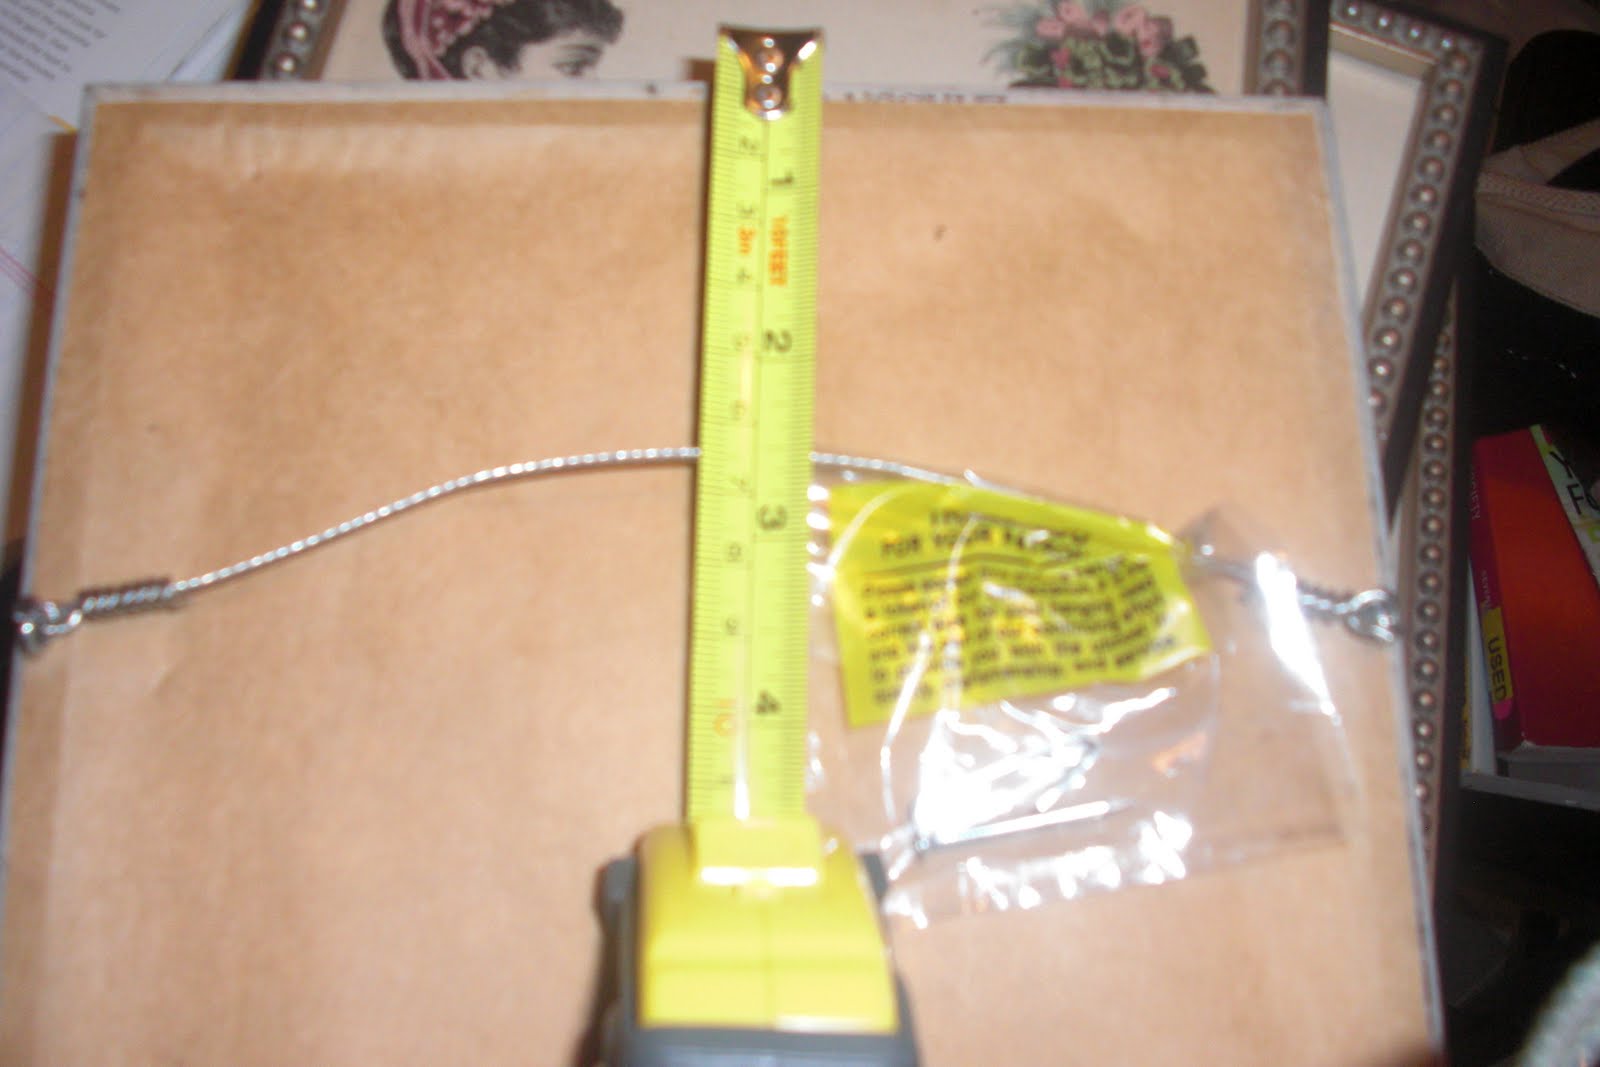
Step 4) Figure out where your nails go (mine are down 2.5 inches) and nail away!


Step 5) Tear down paper and hang pictures.


Step 6) Admire your work again, but for real this time. (level it too!)


Monday, May 30, 2011

Happy Memorial Day!


Happy Memorial Day, I hope you and your family and friends have a safe fun holiday. I spent my trekking back up to school after helping my mother with a party for dear friends that are moving away. Luckily, she gave me tons of leftovers to eat this week. I spent the weekend helping my mom and planning out blog posts for you guys! Here's what my calendar looks like so far:


How did you celebrate the holiday weekend?

Wednesday, May 25, 2011

How to: Organize under the sink

 
      Ever have those days where you just can't concentrate till you get something else done? Yesterday was one of those days for me, I knew I had work to do yet I could not do it until I had bought a canvas for another project and organized my sink cabinet. Two projects that have no time constraints yet yesterday my brain decided they needed to be done then and there. 


     My under the sink cabinet has been a mess and last weekend when I had to get a band-aid out while my boyfriend was visiting and was desperately trying to hide the mess while barely opening the door so he would not see the disaster it was, I decided that was the last straw. I knew I had my new mission. So I did the first thing I always do when I have a new project idea. I went shopping!


It's not that exciting; I went to the Dollar Store. I bought a few things to help me with my disastrous cabinet situation. In my opinion everything looks more organized in a container. Seriously, put things a in a box and presto! Organized. Even if you just have a few bottles, try putting them on a tray, you will be amazed at the difference. Here were my finds at the Dollar Store. (In fact, I didn't end up using them all, but still at a dollar each, they were pretty cheap.


    One of the first things I noticed about my wreck of a cabinet was that I had a lot of bags, like makeup bags for traveling. I wanted some way to store them without using up precious floor space. I had these great hooks left over from another project so I took a drill and a hammer and attached them to the cabinet doors. Perfection! Also, one could use 3M hooks if you are worried about leaving holes. It frees up a ton of space. I hung up another bag off screws poking through from the toilet paper holder! Ha, I did not even have to attach a hook for that. 


     I organized the boxes by items, so I have the pail that holds all my first aid supplies. It has band aids, witch hazel, benzoyl peroxide, rubbing alcohol and calamine lotion. There is the big pink box that holds all my items I have extras of, like shampoo and face wash from past purchases. I have another basket that holds a bunch of guest toiletries and mini things for when I travel. Behind that there is a bag that I always keep ready with all my travel toiletries. It's one of the best things I've done, this way I can be ready on a moments notice to take a trip somewhere and I don't have to scramble wondering if I remembered to pack a toothbrush or shampoo. 


    Another good tip is to use a locker shelf to add more space to your cabinet, I store my seldom used (sadly) curlers beneath them. For me, I am quite lazy thus I have to keep the things I use most often in easy to reach and put back locations otherwise I will never put them in the right spot. 


Do you have any tips on organizing your bathroom sink cabinets?

Sunday, May 22, 2011

Martha Stewart Sunday: Birthday Banner

Ignore the ugly 3, silly apartment management!


     It was Charlotte's birthday last week, and I wanted some way to decorate her door for the occasion. Cue Martha Stewart Clip Art. Seriously, she has the coolest clip art, and for every occasion to jam lids to garlands. Here is a link to her best clip arts. http://www.marthastewart.com/photogallery/clip-art-and-templates?lpgStart=1&currentslide=40&currentChapter=1 (The garland is the first one!) It makes me want to make sugared citrus peels just to put the pretty labels on it. Anyways, back to her birthday, I found the birthday garland and new it would work. I used cardstock paper in two different colors. 


Tips:

*If you are doing two colors (and I highly suggest that you do), you will have to print two copies of the first color, but just the first page to get two H's.

*They are smaller than they appear, so you might have to enlarge them if you want a big garland.

*Cutting them can be a bit tricky it you aren't the best at cutting. You want to leave the black circle showing.


Wednesday, May 18, 2011

Weekly Wonderings: May 18th

  
      So I went to Bed, Bath and Beyond to buy bed risers the other day and instead, like normal, got distracted in the clearance section by a bright pink trunk. It was pretty dinged up and quite a shocking pink color. But I fell in love with it instantly. After I decided to buy it, I had to think of what to do with it. Well I realized that with a bit of tender loving care (and some paint) it would make a great coffee table in front of this couch. I am thinking of painting it black and doing a gold Indian textile design on it. Any other ideas out there? 


Charlotte's blanket from a recent Guatemala trip, which matches perfectly!


P.S. I had a 20% off coupon, so the total with tax was only 25 dollars. So this may end up being another 50 dollar fix!

Tuesday, May 17, 2011

50 Dollar Fix: Side bookshelf


       As you can see, the area next to my couch is nothing pretty to look at. I am an avid book collector, and have several funny reads I like to keep in the living room. But, I was running out of room for them, and my cookbooks were crowding the kitchen. Plus it did not have a good transition from the breakfast nook to the living room. So with the help of several Michael's coupons, I managed to come up with hopefully a good shelving system that looks pretty good in my opinion. I still need some better ideas as how to organize or if I should remove some of the objects. Anyways, I just used 4 wooden crates from Michael's at $9.99 each (minus 40% off each ) plus one small crate at under $5. One can of black gloss spray paint and the project still came in way under 50 dollars. In fact, only 35 dollars. Here's a few photos, directions seem pointless. 


Materials:

Spray Paint

4 large Crates

1 small crate


Tuesday, May 10, 2011

TV Table Update


      Everyone has some sort of skill, and maybe I just have yet to find mine, but I definitely know what Lily's skill is. Give her a picture and a pencil then move back. She can copy it almost exactly. The other day she was over and a bit bored, apparently I am not stimulating enough company. She was feeling kind of crafty, so I let her loose on the table with a pretty Indian pattern I had. She did an amazing job, and it was all freehand. I do not know if I should add anything to the table, like color or just let it be. Let me know what you think!


Tuesday, May 3, 2011

Homemade Biscuits


     I love a good biscuit. There is nothing like the right out of the oven warmth and taste of a homemade one. Last week in the midst of studying for finals, I decided to give myself a break and figure out how to make them instead of just unrolling them from a Pillsbury container. Turns out they are quite easy to make and with a heart shaped cookie cutter, they looked good enough to eat!


Ingredients:
1 cup Milk
4 tbsp Butter
2 tsp Baking Powder
3 1/2 cups Flour
1/2 tsp Salt
2 tbsp Sugar
3 tbsp Milk (for glazing) *I prefer using sugar*

Directions:
1)  Preheat oven to 425 F degrees
2) Sift the flour, salt and baking powder into a bowl. Rub with butter until it resembles breadcrumbs *For me, I broke the butter into tiny pieces then rubbed into flour mixture, this was just weird to do* Stir in sugar.
3) Make a well in the center and pour in the milk. Stir with knife until soft dough forms.
4) Place mixture on a floured surface and lightly flatten dough until about 1 cm thick. DO NOT BE HEAVY HANDED. * I was the first time, making my biscuits quite hearty, just barely press the dough so you keep a lot of the air thickness in*
5) Use biscuit cutter or cookie cutter, to cut biscuits and place on baking sheet. Glaze with milk or sugar. Bake for 10 to 12 minutes until golden.


Adopted from Grandma's Best Recipes