
HomeKatyRecipe CollectionHome

Pages

Sunday, February 6, 2011

Martha Stewart Sundays: Valentine’s Crafternoon

      Every Sunday, I shall attempt to do something like Martha does, from baking to cleaning to (God help me) glittering pictures of your dog.

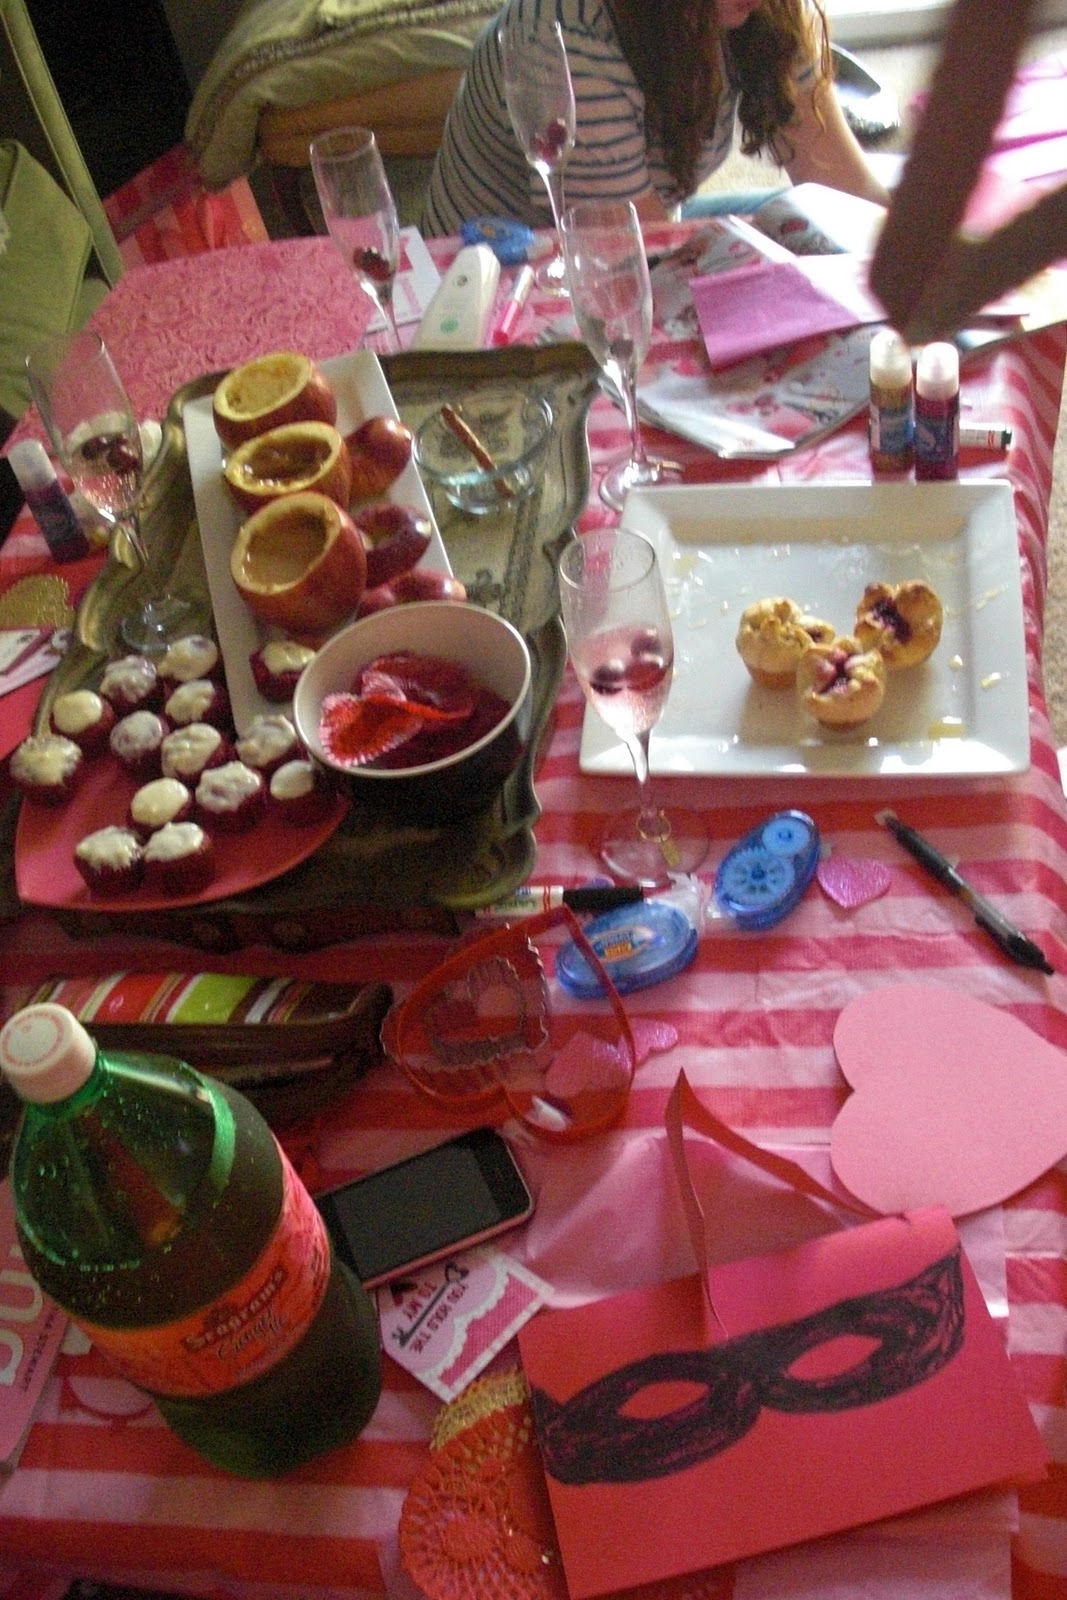
       For my first installment of Martha Stewart Sunday, I took her idea in the February 2011 Living magazine of a Valentine's Crafternoon. I invited a few girlfriends over for snacks and crafts. It was a blast, we sat around for a few hours in the afternoon happily cutting and glittering to our hearts' content. It was a lovely way to spend the afternoon away from all the super bowl fanfare and instead create cards for our loved ones. Later this week, I will be breaking down everything I did for the party as far as food but here is a quick overview of the Crafternoon.

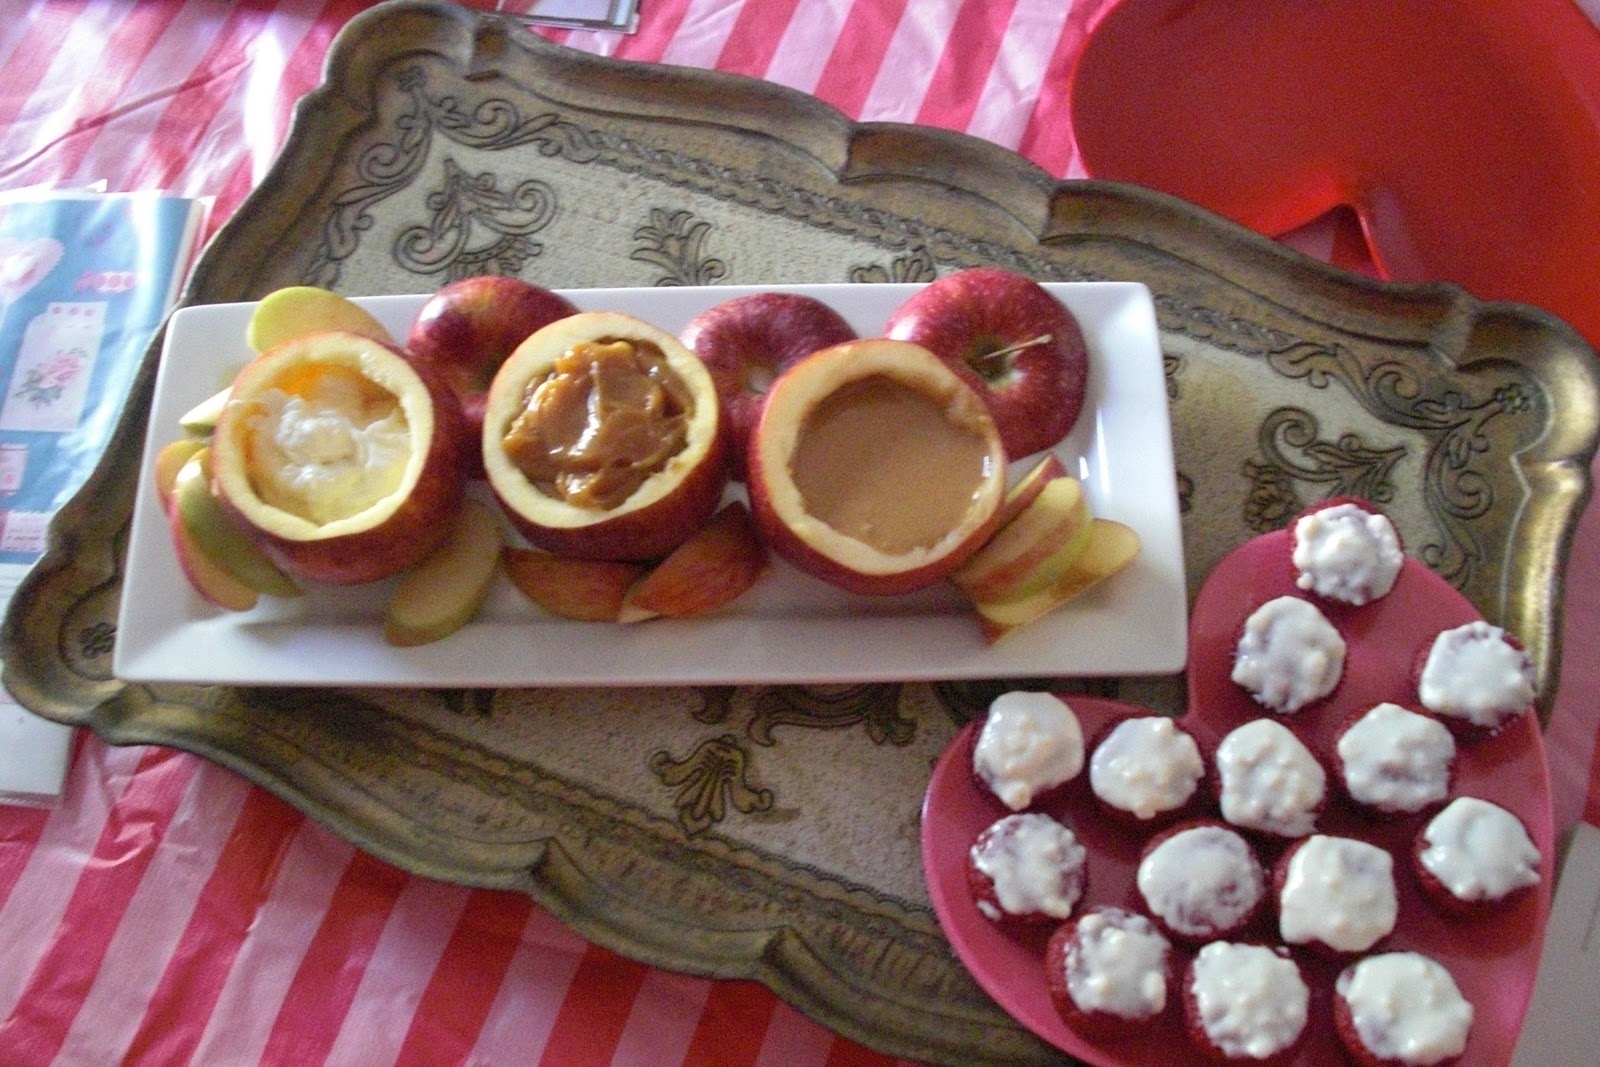
      I bought stickers, cardstock, tissue paper, scissors, glitter and glue plus more. I also asked the girls to bring over some crafting things; if they had anything to contribute (glitter hearts are not cheap). For food, I had the pie, candies, apple dips, brie bites and raspberry ginger ale with frozen cranberries.
Here's what the work table looked like:




Saturday, February 5, 2011

Sandra Lee-ing a Martha Stewart: Boozy Bartlett Pear Pie


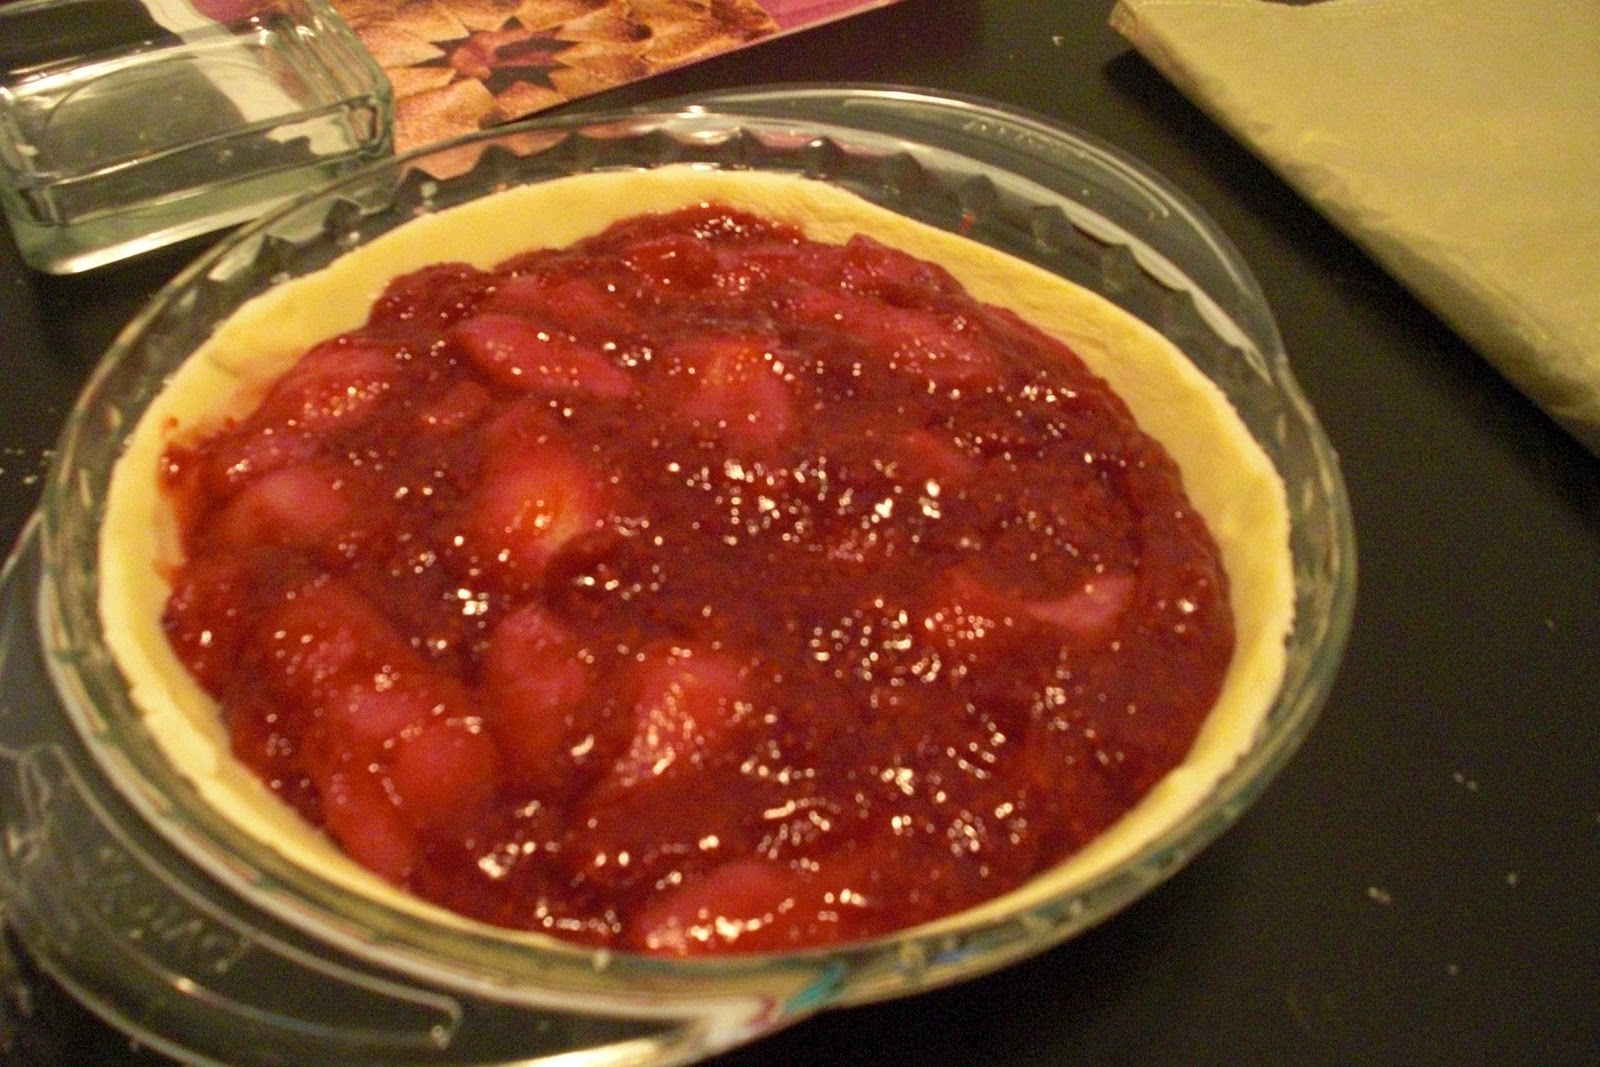
     I love Martha Stewart, she is amazing at everything she tries from modeling to stockbroking, and the woman is a GOD at baking. Yet I wish her stuff came with rating levels, like this is for a beginner crafter to this is for expert bakers only with 10 hours to spare and several special baking utensils. Sadly, I don't have 10 hours to roll out dough and then refrigerate it overnight, then cut into small pieces and then roll it all together and start again. Take this pie for instance, looks amazing. The hearts cut out and pressed in circles to form a top crust. Fresh Bartlett pear peeled, cored and cut into small slices (3 lbs. of them). Frankly, I don't have the patience for such a thing or the time for that. Thus this is my "Sandra Lee-ing A Martha Stewart" for Pear-Raspberry Pie.


My improvements:

-add brandy (Sandra Lee would)

-readymade pie crust (I don't have to time to make it)

- canned pears and frozen raspberries

-change the hearts (cut 48 individual hearts, and place them in circles around the pie crust, WAY ABOVE my pay let alone skill level)


So here is my nouvelle recipe

  • 2 readymade pie crusts
  • ½ cup sugar
  • 3 tablespoons cornstarch
  • ¼ teaspoon salt
  • ¼ teaspoon cinnamon
  • 2 cans of pears (slices or cut them yourself)
 
  • 1 ½ cups raspberries ( I used frozen)
  • 2 tablespoons lemon juice
  • 1/3 cup brandy
  • 2 tablespoons brown sugar
  • 2 tablespoons unsalted butter cut into pieces
  • 1 egg yolk


    Directions:
  1. Trim one pie dough to fit a 9-inch pie dish and trim edges. Preheat oven to 400 degrees.
  2. In a sauce pan, combine the sugar, cornstarch, cinnamon, salt, and raspberries over low to medium heat till it turns a bit gelatin. In another sauce pan, combine 2 cans of drained pears, brandy and brown sugar over medium heat. Combine the two sauce pans once pears have soaked up the brandy and sugar plus the raspberries are more gelatinous.
  3. While the filling cools, roll out the second pie crust on a lightly floured surface and use heart cookie cutters to cut large and small hearts. Use scraps to roll out more dough to cut.
  4.  Once slightly cooled, pour filling into pie pan, then using alternative directions to press the large hearts into the outer rim of the crust. Once full circle is formed, place the small hearts all facing the same direction on the edges.
  5. Lightly brush egg yolk over crust and then use sugar to sprinkle over the crust afterwards.
  6. Bake at 400 degrees for roughly 30 minutes.
  7.  


    Pretty Pretty Notebooks: Part Deux


        So I realized in previous post, I forgot to include a few photos of the finished product. So here it is and a few other notebooks I've covered lately.


    Wednesday, February 2, 2011

    Weekly Wanted Wonders

         As many of you may already know, next Monday is St. Valentine's Day, unless you are my boyfriend (It's February 14th, dear). It seems that so many of my friends and family members have birthdays around that time, making the holiday extra important. These are the things inspiring me this week.

    1. Pear-Raspberry Heart Pie

       
       It almost looks to pretty to eat. ALMOST. I love the heart cut outs for the pie crust. Maybe this will be a weekend project…

    2. Florist Measuring Cups

       
      I wish I had something to bake deserving enough of these cups! I feel I would just place them on a shelf and never want to get them messy, which isn't really the point of them.


    3. Marchesa Gown

      I know this has nothing to do really with décor, but I so want this dress and somewhere to where it. Any ideas on how I could possibly justify it?


    4. Damask Flocked Wall Paper

       
      I don't really know where I would put this, but I know it would be beautiful. I love the soft purple offsetting the more modern foil behind it, making it more whimsical than stuffy.


    5. Heart Shaped Valentine's Bejeweled Box

       
       My boyfriend wouldn't appreciate it, so I might have to end up making this for my best friend and giving her a bunch of homemade goodies to fill it with à la Martha!
       

      What's inspiring you this week?

    Pretty Pretty Notebooks


         I love having pretty notebooks for class or just to jot down notes or recipes. Yet whenever I look for any in stores, they either can't be found or are way too expensive for me to afford. So I have taken to making my own pretty notebooks. It doesn't take a lot of money, time or effort and they are pretty enough to give as gifts or keep for yourself.


    Here's all you need:

    Modpodge ('m obsessed with the gloss version)

    Foam Brush

    Scrap book paper, tissue paper, etc. (You could use newspaper, magazines, even plain printer paper works)

    Scissors (to trim paper)

    Notebook (I like the 99 cent composition notebooks)


    Directions-


    1. Lay out paper over the notebook to position. Feel free to get creative and even layer papers!
    2. Once you know where you are going to place everything, carefully remove it and use the brush to put down a layer of modpodge on the notebook. Press paper(s) on to the notebook, be careful to smooth out any bubbles or lumps. Take your time with this part.
    3. Either cut or fold excess paper over the edges, tucking them in to glue down later. 
    4. Apply with the foam brush 1 to up to 3 layers of modpodge on top of the paper to seal it in and give it time to dry between applying each layer. It should look glossy when finished.
    5. Enjoy your creation and write pretty things!


    How do you keep your notebooks from looking too dull?

    Tuesday, February 1, 2011

    Hung up on Purses


         I have been known to drop some good money on a fabulous purse but I have always had the problem of trying to figure out how to store them. I simply don't have the shelving space for them, and I am far too lazy to put them in cute boxes that are labeled. So I came up with this simple solution: Picture Frame Holders.


        I took two of the kinds you nail to the wall and spray painted them gold to match my room. Nailed them to the wall and VOILA! PRESTO! Hung my purses on the shelving part and I was finished, my favorite part it I can also store my sunhats too.


         It's super easy to grab a different purse now and switch bags and I did it behind my door so that I don't take up too much valuable space for other things. If I had the space, I would have done more of the frame holders so that I could have fewer purses on each one and really display and pretty the holders are but perhaps in my next place. 

    Monday, January 31, 2011

    Boy’s Rooms


         So I meant to post a few more times last week, and I wanted to apologize for not doing so. Then again, maybe I am just talking to myself but if you do check the blog, I am sorry! I decided to take a spur of the moment trip to visit my boyfriend up in the very cold northeast. It was lovely and I got to see it snow! But while there and living in an apartment I realized some truths about boys' living quarters.


    1.  Trash Cans
      -Why is it boys never have trash cans in the bathroom? I even asked my boyfriend and all he could say was that they just threw stuff away in the trash can in the kitchen, five feet away. I may just have to buy them one myself, it was so annoying when I had nowhere to throw my makeup remover cloths or a tissue. Have you ever had this same experience?


    2. Mirrors
      -They also never have full length mirrors. How am I supposed to know if my outfit looks okay? Or check to make sure I don't have a rip on my tights? Again, boys just don't seem to understand, and I checked with all three boys in the apartment, none of them had a full length mirror.
    3. Common Spaces
      -Whenever I come home to my place, I always say "hello" to my roommate, and somehow try to make a general announcement that I am here. I ask her how her day was or just other things, we may then both go back to our own rooms or hang out in the living room. These boys barely acknowledge each other when they come home. I felt like I was being so rude every time we came but apparently this is the norm.


         Though all that being said, I fully intend to break him of these habits, but I do have to admit, I have never had to tell him to put the toilet seat down. So I guess I can't complain too much!