


I do not know if I've mentioned this before but I love symmetry. I know I've done things before that are unsymmetrical (like this post) but I just think of those as balanced and I suffer through it. Seriously, I can't even wear anything unsymmetrical (no one shoulder tops for me, how can you be okay with favoring only one shoulder?). I got these beautiful vintage magazine pages from my uncle and I have not been able to figure out where to hang them. So with my symmetry fanatics, the 4 pages of dresses and 2 hats pages were driving me crazy.
Finally, I found a place. I have this crazy long hallway. Look at how long! And narrow. It's like a bowling alley (and sometimes just as dark)

Here's a look at some of the different designs I played with before deciding. It was like Goldielocks, this one is too small, this one too big. It just depends on the space of your wall and frames, I had a long wall and narrow frames so I need to stretch out the spaces.


Step 1) Measure the distance across the wall. Measure the widths of the frames. To evenly space it out, subtract all the widths of the frames from the length of the wall. Then divide by the number of frames plus 1.
Walls- widths / frames +1 = distances between frames (yeah super geeky side, yay symmetry)
Step 2) Cut out scraps of colored paper to make mock frames and tape them to the walls to see how it will look. (I used leftover paper from this). I ended up deciding to overlap the frames by 1/3rd because they looked better.

Step 3) Admire your work.
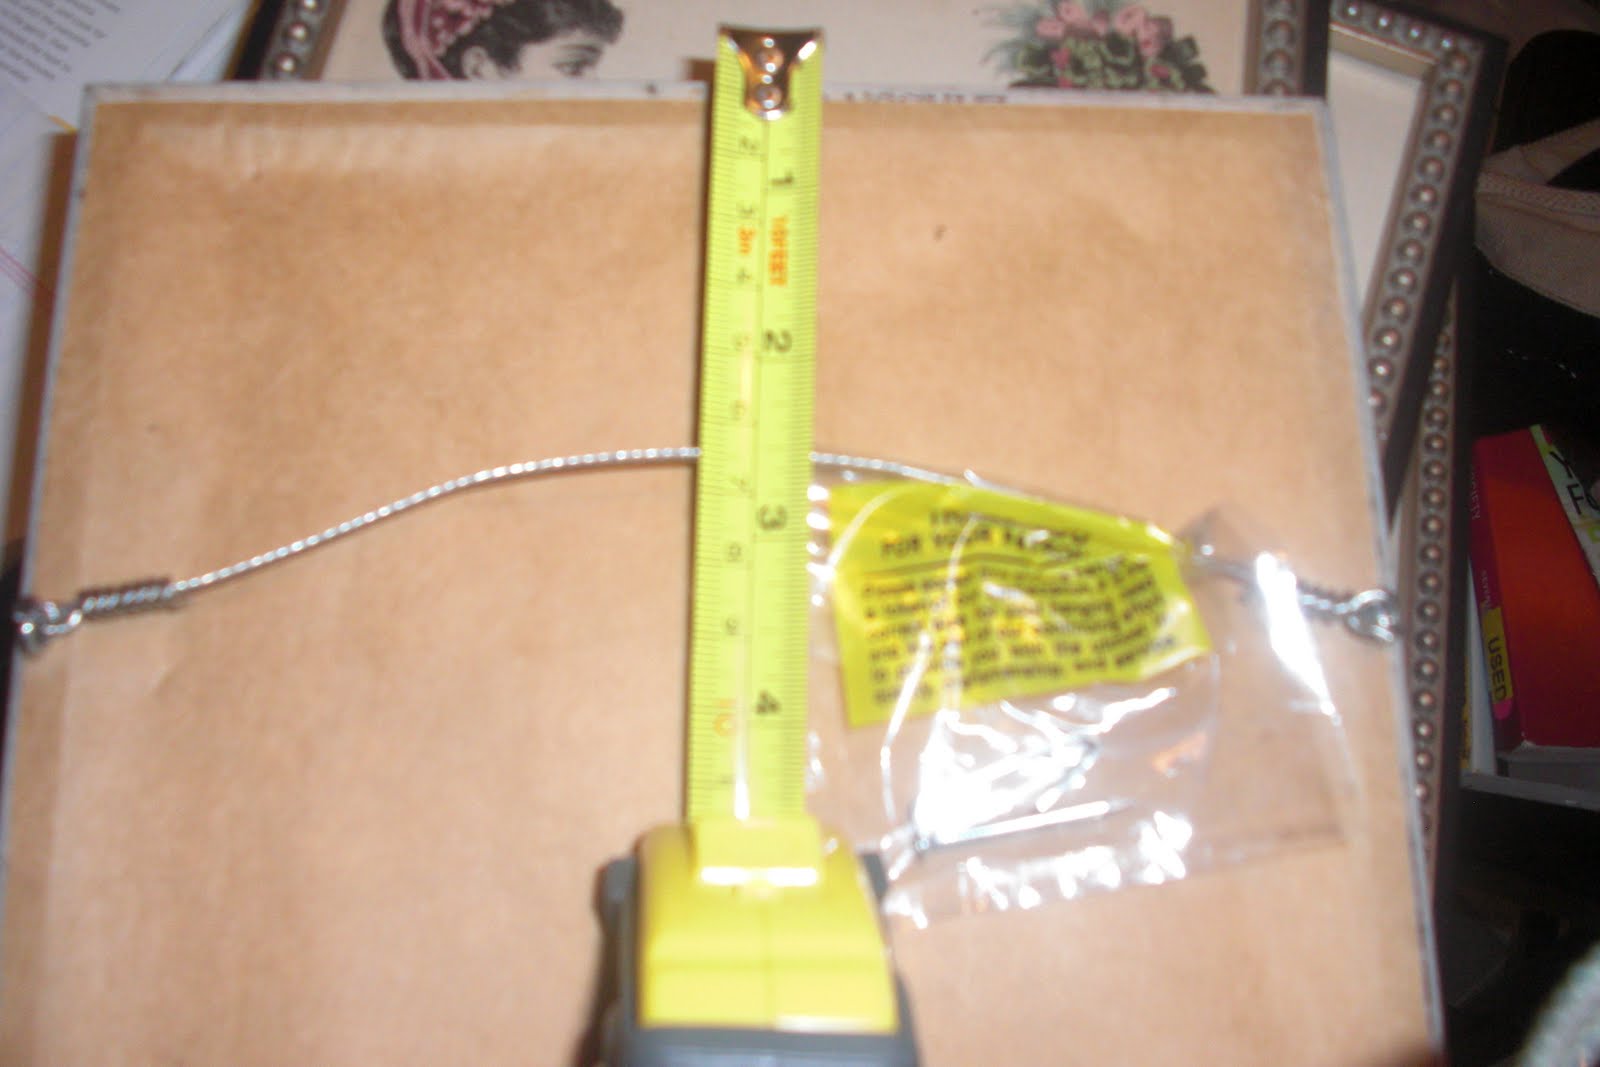
Step 4) Figure out where your nails go (mine are down 2.5 inches) and nail away!

Step 5) Tear down paper and hang pictures.

Step 6) Admire your work again, but for real this time. (level it too!)





 Posts
Posts


